
Practical technical support
How to upgrade your graphics card
Find out whether a new GPU will help, check case clearance and power, then fit it and test the same game or project again.
Last reviewed:
A faster graphics card can do wonders for the right job. It won’t fix every game that stutters, and it’s an expensive way to discover you were limited by the processor all along. Work out what’s holding you back, then see what will fit through the side of the case.
Would a faster graphics card help you?
Run the game or editing job that disappoints you. In Task Manager’s Performance tab, look at the GPU doing the work. In a game, look for a busy 3D engine and check whether a frame-rate cap is in play. Try the same scene at a lower resolution, with the other settings unchanged. A clear rise in frames per second is a clue that the GPU was limiting that scene. Little or no rise points you towards the CPU, a cap or another limit.
For editing, watch the relevant GPU engine and dedicated memory while you play a difficult section or export a short project. Video decoding, effects and encoding can use different hardware. If you’re buying for an app such as DaVinci Resolve, check the app’s own requirements and its support for your codecs and effects. A benchmark for a game you never play can’t answer that question.
Take a tape measure to the case
These steps cover a replaceable desktop card. Most laptop GPUs are built in. For a desktop, find the exact card’s spec sheet and the case and motherboard manuals. Cards with the same GPU chip can come in very different sizes.
- Slot and space. Check the recommended PCIe slot, card length, height and slot thickness. Front fans, a radiator or a drive cage can eat into the published clearance. Leave room for the side panel to close without pushing against a power plug.
- Power supply. Read the label on your current PSU without opening its housing. Check wattage and the connector and cabling requirements for that exact graphics card. If you swap a modular PSU, use its own approved cables. The plugs can look identical at the PSU end while being wired differently.
- Display and drivers. Check for the ports and display modes you need. Download the correct driver from the GPU maker, and check the PC manufacturer’s compatibility notes if this is a compact or proprietary desktop.
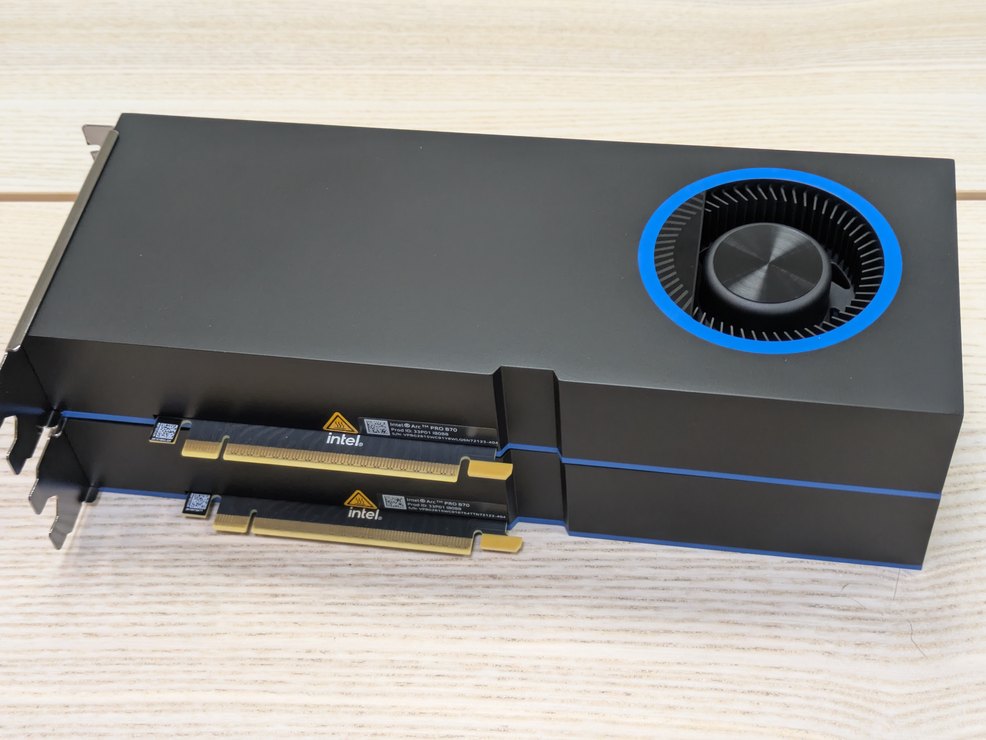
Removing the old card is usually the fiddly part
Shut down, unplug the PC and work somewhere stable. Take a photo of the cables. Hold the old card while you unplug its power leads and remove the case screws or retainer. Release the latch on the motherboard slot as the manual shows. Some boards have a separate release button. If the card won’t move, check the latch and bracket before pulling harder.
Seat the new card evenly in the recommended slot, secure the bracket and fit any support the manufacturer supplies. Connect power as directed. Check that plugs are fully seated and the cables have the clearance the manufacturer specifies. Before putting the case back, check that no cables are in reach of a fan. Plug your screen into the new card before starting up. It’s surprisingly easy to reconnect it to the motherboard out of habit.
First boot, then the same test again
If there’s no picture, check the monitor’s input and the cable first. With the PC unplugged, check the card and its power connections. If the old card still works, it gives you a way back while you check compatibility. Once Windows is running, install the correct driver and confirm the new GPU appears in Task Manager.
Replay the same scene or export the same project with the same settings. For games, use the same resolution, graphics preset and frame cap. For video, use the same source files, effects and export codec. Record the frame rate or export time, then try the higher settings you bought it for. If the numbers barely move, check whether the job is using the new GPU or waiting for something else.